Thuja is home to East Asia. In our latitudes, thuja has gained popularity due to its ruggedness and dense dense crown. Thuja is easy to cut, so it is possible to give it any shape. Thanks to this feature, thuja is used in many landscape compositions.
Thuja serves as a material for hedges, it is planted with whole alleys. For such plantations dozens and hundreds of young trees are required, therefore the issue of rapid reproduction of the plant is relevant.
- How to prepare spring cuttings
- Features rooting cuttings in the spring
- Existing rooting methods, which one is suitable for spring
- How to prepare the substrate for cuttings
- How to plant a spring stalk
- Proper care of cuttings is the key to success.
- What to do when cuttings take root
The most popular method that is suitable for thuja is reproduction by cuttings in the spring. Despite the fact that With this method of breeding trees are less hardy than seedlings, it is much more popular. This is explained by the following:
- reproduction by cuttings allows you to save the features of the parent plant;
- the seeds of conifers need natural stratification, which takes a lot of time. The process of growing seedlings from seed ready for planting lasts about 6 years;
- reproduction of thuja cuttings in the spring allows you to get ready seedlings for planting in a permanent place in 2-3 years.
 The vegetative method of breeding tui also has disadvantages. In the process of growing seedlings, only 70-80% of the plants of the total number of harvested cuttings survive. If you do not follow the rules of breeding conifers, this percentage will be even less.
How to prepare spring cuttings
In order for cultivation of thuja from cuttings in spring to be fruitful, it is necessary to properly prepare cuttings.
For harvesting spring cuttings need to take the tops of the axial shoots of thuja. These branches retain the nature of branching, which is inherent in this species. If you take the stalk from the side branch, you get the creeping form of the plant.
 The best period to separate the cuttings from the mother plant is the spring month of April. At this time, the first phase of plant growth occurs. The plant from which the escape is taken, must be 2-3 years old.
In order for a thuja to have a better chance of settling down, whereas this plant can not be grown from a cutting plant with a 100% probability with this method of reproduction, it is necessary to properly separate the cutting. To do this, it is necessary to tear it off manually, without using a secateur. Tear off need a sharp movement. The detachable part should be 20 cm long. When a branch is pulled out at its end, a piece of last year's wood remains, which contains nutrients.
Primary preparation of harvested thuja cuttings - cleaning from the bottom of the cutting of small twigs and needles. This is done so that they do not come into contact with sand or wet soil, because in this case they will begin to rot.
Features rooting cuttings in the spring
 After harvesting, it is necessary to root the thuja cuttings in the spring. Before that, you need to decontaminate young shoots. To this end, they are immersed in a weak solution of manganese for a few minutes, after which for one day they are placed in the drug "Kornevin" or another growth stimulator.
Existing rooting methods, which one is suitable for spring
The next thing in the process of how to root the thug from the branch is to place the cutting on the medium where it can take root. There are several ways of rooting a thuja:
- in the substrate;
- in water;
- in a diaper with moss.
 For cuttings prepared in spring, rooting in the substrate is considered the best method. Sprigs need a lot of moisture and at least a minimum of nutrients. In the water and in the diaper with moss there are not enough nutrients for thuja growth.
How to prepare the substrate for cuttings
In the question of how to plant a thuja branch, not the last role is played by the substrate in which the cutting will be placed. As a substrate, you need to use pure river sand or a mixture of sand and garden soil that must be disinfected.
For disinfection of river sand it is placed in a galvanized bucket or tank and boil it, placing it in a large container with water. After that, the sand is poured over with a 3% solution of potassium permanganate. After completing these procedures, sand can be used in the substrate for planting thuja cuttings.
Some carry out sand disinfection, having already placed it in a tank for disembarkation.The sand is poured over with boiling water, and after that with a solution of potassium permanganate.
How to plant a spring stalk
After the preparation of the desired substrate, the next task is to complete - how to root the thuja cuttings in spring. The procedure is as follows:
- prepare seed tanks with a large number of drainage holes;
- lay a drainage layer at the bottom of the tank - crushed expanded clay or gravel;
- a substrate is laid on the drainage layer - river sand or a mixture of river sand with garden soil;
- prepared cuttings deepen into the substrate to a depth of 1-1.5 cm and compact the soil around them.
Proper care of cuttings is the key to success.
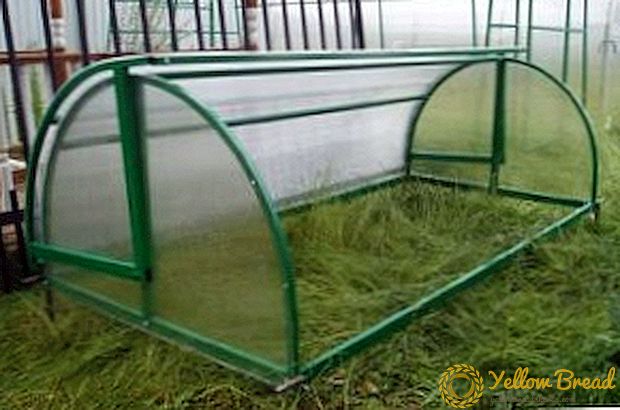
 The next thing you need to know when investigating the question of how to grow an thuja from a cutting is the rules for leaving after planting. Since the planting takes place in early spring, the outdoor temperature is too low for young branches. Therefore, planted cuttings are placed in a greenhouse, in a shaded place or in a greenhouse from a spunbond.
The temperature for growing tui from cuttings should be between 17 and 23 degrees. Spray seedlings should be sprayed daily, and if the weather is hot, the substrate needs to be moistened twice a day.
What to do when cuttings take root
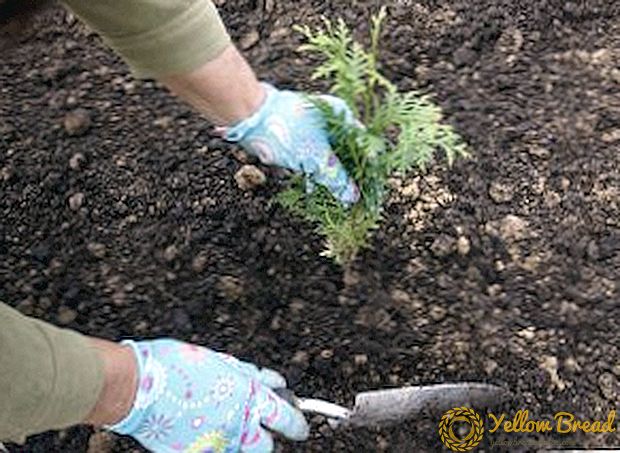
After the cuttings planted in the spring take root, they must be transplanted to grow into a special bed - shkolka. In shkolke tui seedlings spend 2-3 years, until they are ready to transplant to a permanent place. Sprigs planted in the spring in spring are placed in a school in the same year, in September.
How to transplant thuya shanks in shkuku:
 choose a site for the formation of shkolki - required partial shade;
- dig the soil on the plot, add peat to it at the rate of about one bucket per square meter;
- rooted cuttings need to be watered so that they can be easily removed from the substrate without damaging their roots;
- plant cuttings at a distance of 25 cm from each other in shkolku;
- moisten the soil.
 choose a site for the formation of shkolki - required partial shade;